Here, you will learn how to create a Node.js web application using Visual Studio.
If you have not installed the project templates for Node.js in Visual Studio, then visit the Setup Visual Studio section.
First of all, create a new project by clicking on New Project.. on the start page or FILE menu. This will open a New Project dialog box as shown below.
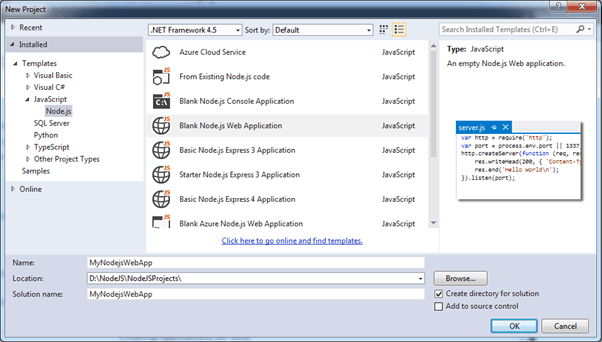
As shown in the above figure, from the New Project dialog box, expand Installed -> Templates -> JavaScript -> Node.js in the left pane. Select the Blank Node.js Web Application in the centre pane, enter a project name and a location and click OK. This will create a Node.js web application project as shown below.

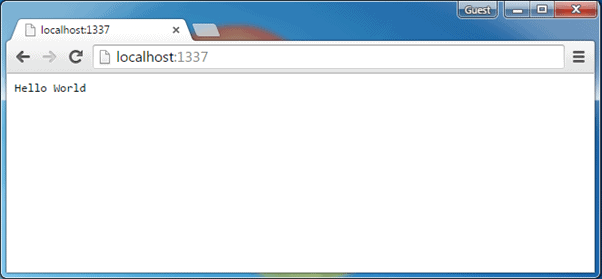
As you can see, it has created server.js, which creates a web server listening on the 1337 port and sends the "Hello World" text as a response to any http request.
Press F5 to run the web project. It will open the command prompt and the browser, as shown below.

So now, you can send different responses based on the requested URLs the same way as shown in the Node.js web server section.

No comments:
Post a Comment